With this continuity exercise, we wanted to explore the idea of camera shots and movement. My group used the idea of 'who wants to be a millionaire?' to base our short film on. In order to create an idea of what camera movements and actions we wanted and in what order, we created a storyboard to plan the camera angles and shots.
I played the contestant while Tom played the host and Jess played the friend who I call for help.
One of the challenges we faced was that the green screen we used in order to set the scene in the 'Who wants to be a millionaire?' which we would edit later on an iMac, was not wide enough, and therefore we weren't able to film a shot-reverse-shot. However, we overcame this challenge by taking turns to switch seats, in order to not break the 180-degree rule.
PRODUCTION PRACTICE: MONTAGE/TABLETOP SEQUENCE
Our brief was to create atitle sequenceusing only a tabletop and props with a small part oflive-action at the end, using a soundtrack. This was completed in 2 sessions.
In class, we began by watching various tabletop openings suggested by our teacher to inspire us. We watched the openings on Delicatessen (Jean-Pierre Jeunet 1991) andTo Kill a Mockingbird (Robert Mulligan 1962). We alsolistened to music which we could use in our own opening.
I worked with Jess and Preesha, and we decided to base our tabletop scene around an investigation of a mother (Olivia Blake) who had gone missing. Our tabletop theme was Drama/Horror.
In session 1, we set up our tabletop presentation, in order to create a neutral background, we placed a black cloth over the table and layered our props over the top. Our props consisted of newspapers; a briefcase; an investigation board; a passport; lots of dollar bills and a screwdriver.
Using fake blood, we smeared the dollar bills and end of the screwdriver in order to suggest the idea that she had been murdered or hurt. With a printed picture of Olivia's face on a homemade newspaper, Jess covered her hands in fake blood and placed the screwdriver down on top of it to heighten drama and tension.
ON THE SET
I will be describing a brief description of the terminology and camera handling my group and I learned.
Camera and Tripod work:
My group and I learned how to handle and correctly set up a camera and tripod. We did this by passing a camera around and all practiced how to handle it; this included inserting thecompact flash card, turning it off and on, replacing the battery, and sliding it securely on the tripod. When passing the camera on from one person to another, you say 'yours' to 'mine', in order to minimise the risk of the camera dropping. We were given a compact flash card and a battery, learning the proper place to insert them, as well as how to secure them into the camera and how to charge the battery. I learned how to set up the tripod, loosening it to fit the camera and adjusting the height. To make sure the camera is level and secure; you use the spirit level. I learned how to use the camera and explored how to adjust the focusby turning the dial up and down, how to zoomin and out by twisting the lens.
On the Set:
I learned the correct terminology and some common phrases that are used on a production set by the crew and director. When the camera is set up and the director is ready to shoot, the director will shout 'Stand by' to the crew on the set, to which the crew will shout back'standing by' if they are also ready. this way there will be a minimised risk of false starts and bloopers. Once the crew has indicated that they are ready for the director to start shooting, the director will shout out 'Rolling' to indicate the camera is recording, and from this moment the crew needs to be silent. Then the director will shout 'Action' which indicates the actors to start moving. Once the scene is over, the director will shout 'Cut', to indicate the scene is finished, then will shout 'Strike the Kit' which signals for the set to be packed up, footage uploaded and the cameras charged.
White Balance (WB):
I learned that the WB is the process of removing unrealistic colour contrasts, in order for an item to look white in a photo the way it does in real life. The WB allows the camera to acknowledge the colour temperature, which decides how cool or warm thewhite lightshould be, resulting in all the other colours being displayed correctly, which creates and more realistic effect. You can do this by choosing the tone and adjusting the WB on the camera.
180-degrees Rule:
The 180-degrees rule is a cinematography guideline that allows two actors in a scene to keep the same left/rightrelationship with each other. There is an invisible linewhich the camera will pass over, and then the shot is referred to as a 'reverse shot'.
PRELIMINARY EXERCISES: CAMERA TECHNIQUES
I learnt different camera techniques by reading the website: The Grammar of Television and Film by Daniel Chandler.
By studying this website, it gave me insights into how I can vary the sizes and angles of my shots to focus the viewers attention onto specific objects and/or people and depict certain emotions and feelings. The camera I used to explore different camera techniques was an iPhone 11.
HIGH ANGLE:
- angle from above, aimed down at the character
- makes the viewer feel more powerful than the character and suggests detachment
LOW ANGLE:
- angle from below, aimed up at the character
- exaggerates the character's importance
CANTED ANGLE:
- aimed at the character at a rotated angle
- helps to create tension and a sense of unease, suspense and mystery
BIRD'S EYE VIEW:
- view from above the character
- allows the viewer to have a full range of the scene as it is above all the action
OVER THE SHOULDER:
- angle shown from over the shoulder of the character
- shows a point of view of the character, exposing their view in front of them
WORM EYE SHOT:
- angle from below the character, aimed up
- highlights power and authority in a character as the viewer is looking up at them.
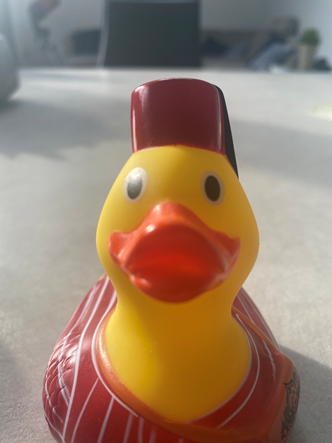
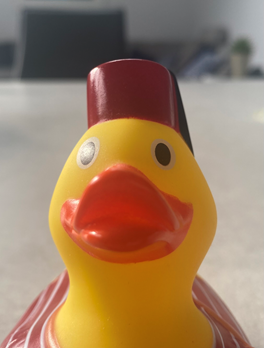
CLOSE UP:
- zooms in, focusing on head to shoulders
- shows their face in great detail and exposes their reactions and emotions in a scene
EXTREME CLOSE UP:
- zooms in and focuses strictly on the face
- allows the viewer to see the emotion of the character and cuts out context in the background
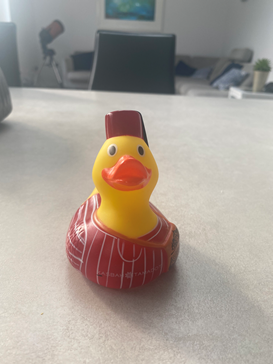
MID SHOT:
- frames the body and face of character
- gives a greater view of the character, whilst still showing detail in their face and emotion
LONG SHOT:
- shows most of character and some of surroundings
- allows the viewer to have some context as to the location of the character


You planned efficiently and your filming was well organised. Please add the video itself.
ReplyDelete